Dashboard -> Data Room
Add a Data Room: Select ''Add a Data Room'' to initiate the process of setting up a new data room.
Data Room Name: Choose a descriptive and easily recognizable name for your data room.
Template Name: You can select a template listed.
Data Room Pinned Checkbox: Select this option to pin the data room as a tab for quick and easy access.
Content : The content of the Inbox Message you want to publish.
Dashboard -> Data Room -> Private Files
Create a Private Folder: Choose ''create folder'' to store and manage sensitive documents, ensuring confidentiality within your data room.
Upload Document: Choose this option if you want to upload single documents.
Dashboard -> Data Room -> Select a Data Room -> Manage Users
1. Add or Remove Users
Manage Users: Select ''Manage Users'' to add or remove users from your Data Room.
Add/Remove Users: Click on the 'Add/Remove Users' button. Search for the user(s) you wish to grant access to within the 'Organization' list. Once you've selected the user(s), they will appear in the 'Available List'. Click the blue arrow to move the user to the 'Selected User(s)' box. Finally, click 'Submit' to add the selected user(s) or to remove them, click "Remove all".
2. Manage Users Permissions
Selecte the user/group who you want to manage the permissions. Then select the checkbox itens you want.
Needs Acknowledgement: This permission indicates that the user needs to acknowledge or confirm their understanding of a particular document or action within the data room.
Share: This permission allows the user to share a specific document or data with other authorized users.
Print: Users with this permission can print the documents from the virtual data room.
Open in: This permission enables the user to open a document or file using a specific application or program.
Sign: Users with this permission can electronically sign documents or files.
E-mail: This permission allows the user to send documents via email directly from the data room.
Offline storage: Users with this permission can download documents offline on their local devices for access without an internet connecti
on.
Share to Gapp User: This permission enables the sharing of data or documents specifically with users who have access to Gapp Platform.
Share to Device: This permission allows sharing with specific devices, granting access to documents on those devices.
Edition: This permission allows to edit or make changes to a document or file.
Download: Users with this permission can download documents to their local devices for offline access.
Encrypted: This indicates that the data or documents are protected with encryption, which secures them from unauthorized access.
Hidden: This permission may hide certain documents or data from view, making them only accessible to specific users.
Mandatory: Mandatory permissions are those that must be granted or actions that must be taken before accessing specific documents or data.
Checklist: This could refer to a feature allowing users to create and manage checklists for tracking progress or compliance with specific tasks or documents.
Workflow: Workflow permissions might relate to the management and tracking of a process or series of tasks associated with the documents or data within the virtual data room.
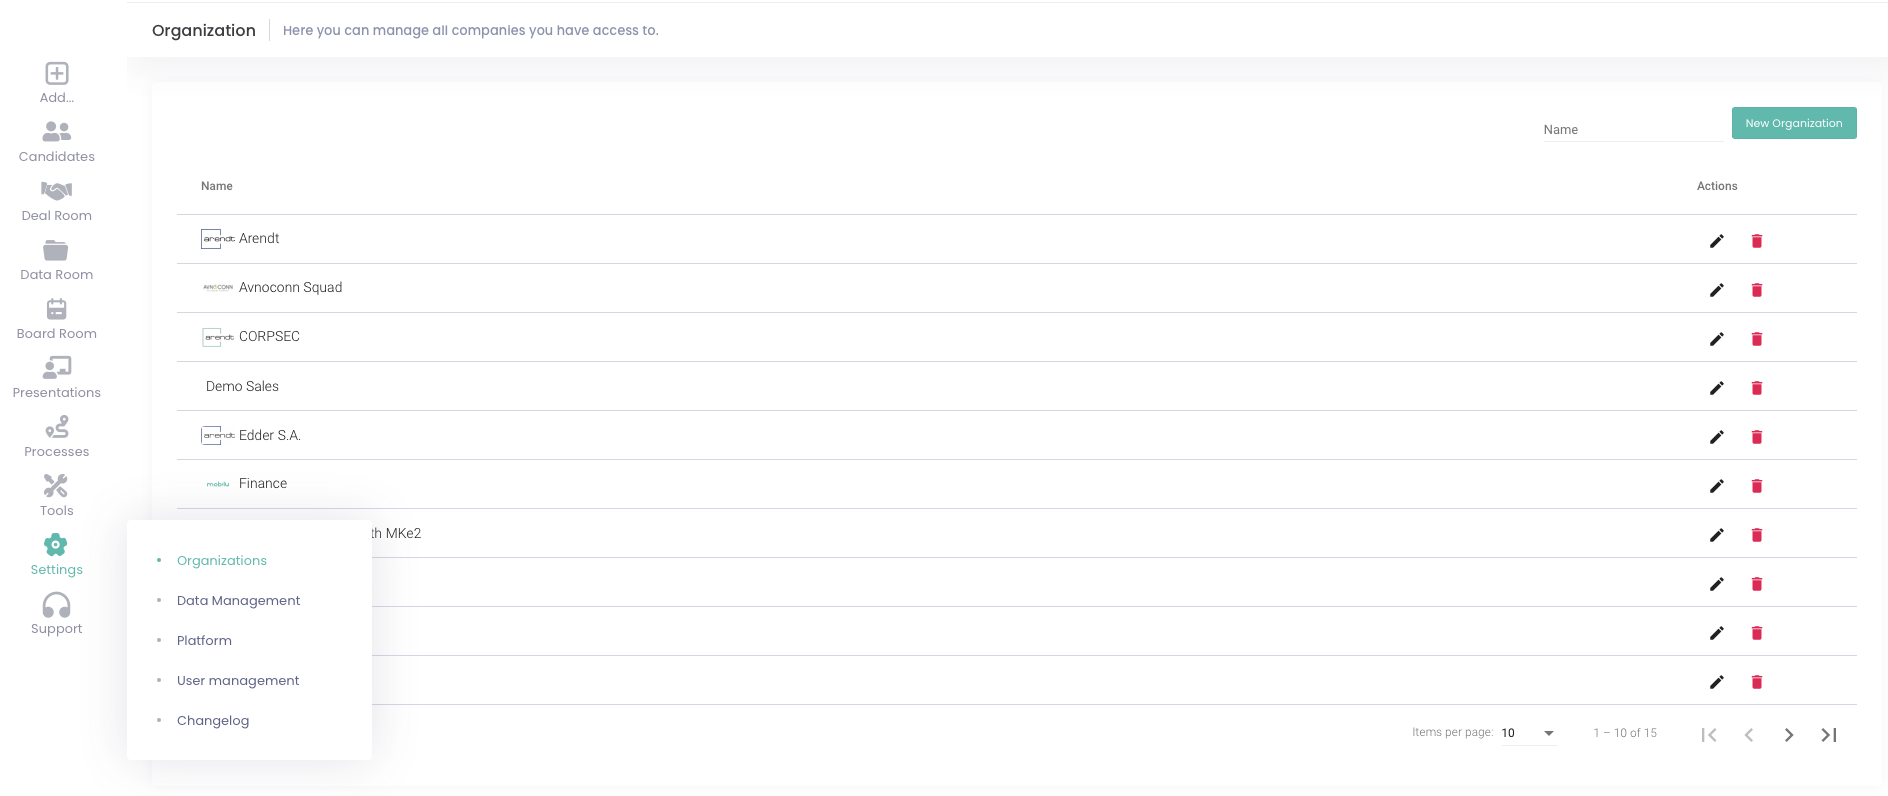
Dashboard -> Settings Module -> Organizations
1. Select the Organization you want configure Watermarks

2. Actions ''
Edit'': Click on the pencil icon to change and control all your company details.
3. Storage: Go to the "Storage" tab to adjust your Watermark preferences.
4. Watarmarking:
By default, the "Use default watermark" is selected. Deselect it if you want to upload your own custom watermark.

Dashboard -> Data Room -> Organizations
Click on the Data Room you want and you will find all the folders and documents inside.
1. In your Dashboard
Documents to Sign: click here to see all the documents with pending signature . You can filter them accordingly with the status.
2. Inside the Data Room
Select the Data Room where you'd like to sign your documents. Next, choose the specific document you wish to sign and then click on the 'Sign' icon.

Dashboard -> Data Room -> Organizations
Click the Data Room you prefer, choose the document you want to read, and the entire file will open. You can also make annotations, highlight text, and do more.